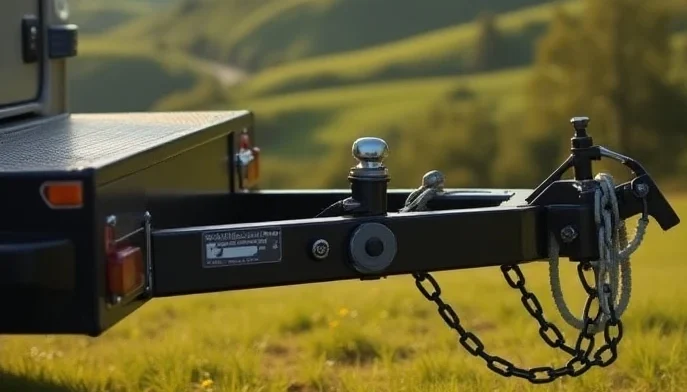
Hooking up a bumper pull trailer safely and correctly is essential for a smooth towing experience. Here’s a step-by-step guide to help you securely attach a bumper pull trailer to your tow vehicle.
1. Prepare the vehicle and trailer.
- Align the Vehicle: Position the tow vehicle in line with the trailer’s hitch. Use mirrors or have someone guide you if needed. A straight alignment makes the hookup process much smoother.
- Inspect the Hitch and Ball: Check the condition of the hitch receiver, ball mount, and trailer coupler to ensure everything is in working order and has the correct size rating.
2. Position the ball under the coupler.
- Lower the Trailer onto the Ball: Using the trailer jack, raise or lower the trailer’s coupler so it’s level with or slightly above the hitch ball. Slowly back up the vehicle to position the hitch ball directly under the coupler.
- Secure the Coupler: After positioning the ball under the coupler, lower the trailer jack to firmly place the coupler onto the hitch ball. Check that it is fully seated on the ball before proceeding.
3. Lock the coupler.
- Latch the Coupler: Most couplers have a locking mechanism, such as a latch or lever, to secure the ball in place. Engage the latch fully to lock the coupler onto the hitch ball. Try lifting the coupler slightly to confirm proper latching; if it remains stable, it’s secure.
- Insert a Safety Pin: Insert a safety pin or coupler lock through the latch mechanism to prevent it from accidentally opening during travel.
4. Attach the safety chains.
- Cross the Chains: Attach the safety chains by crossing them under the coupler, forming an “X” shape. This cross pattern helps prevent the tongue from dropping to the ground if the hitch fails.
- Hook the Chains to the Vehicle: Secure the chain hooks to the designated points on the tow hitch or vehicle frame, ensuring there is enough slack for turning but not so much that the chains will drag on the ground.
5. Connect the wiring harness.
- Plug in the Trailer Lights: Locate the trailer wiring harness (usually a 4- or 7-pin connector) and plug it into the corresponding socket on your vehicle. This connection allows the trailer’s lights, turn signals, and brake lights to function with your vehicle.
- Test the Lights: After connecting the wiring, have someone stand behind the trailer while you test the lights. Make sure that brake lights, turn signals, and running lights are all working properly.
6. Adjust the trailer jack and secure it.
- Raise the Trailer Jack: After connecting and securing everything, fully retract the jack. This prevents it from scraping or catching on road surfaces while you’re driving.
7. Check the trailer’s load balance and tongue weight.
- Ensure proper weight distribution in your trailer for a smooth and stable ride. Place about 60% of the load toward the front of the trailer and 40% toward the back. Avoid too much weight on either end to minimize swaying.
- Check Tongue Weight: Aim for a tongue weight (the weight pressing down on the hitch) that’s 10-15% of the trailer’s total weight. Too much or too little tongue weight can lead to swaying and unsafe handling.
8. Final Safety Check
- Double-Check Connections: Walk around the vehicle and trailer one last time. Make sure to secure the coupler, cross and connect the safety chains, plug in the wiring, and ensure the lights are operational.
- Test the Trailer Brakes (if equipped): If your trailer has electric brakes, test them by lightly pressing the brake controller in your vehicle to ensure they’re working.
9. Drive slowly and test your setup.
- Take a Test Drive: Before hitting the highway, drive a short distance at low speed and check for any signs of swaying or unusual handling. Adjust your load if necessary.
- Monitor the Trailer: Regularly check the trailer while driving, especially on long trips, to ensure everything remains secure.
Following these steps will ensure a safe, secure, and efficient setup for towing a bumper-pull trailer. Safe travels!


